
Some background story
You can probably tell by the title where this post is going, but nevertheless I hope my experience will share some valuable insight.
When I first moved into this home I was told that the chipped concrete damage about the size of a fist near the exterior door frame should be fixed to prevent rodents. Given that I am writing this post you know I have done exactly not that.
In my defence the previous owner’s newly installed deck (which is quite nice) was in the way for me to build a proper form to hold the concrete, and dismantling part of a nice deck with the labour and all isn’t something you’d call exciting or satisfying.
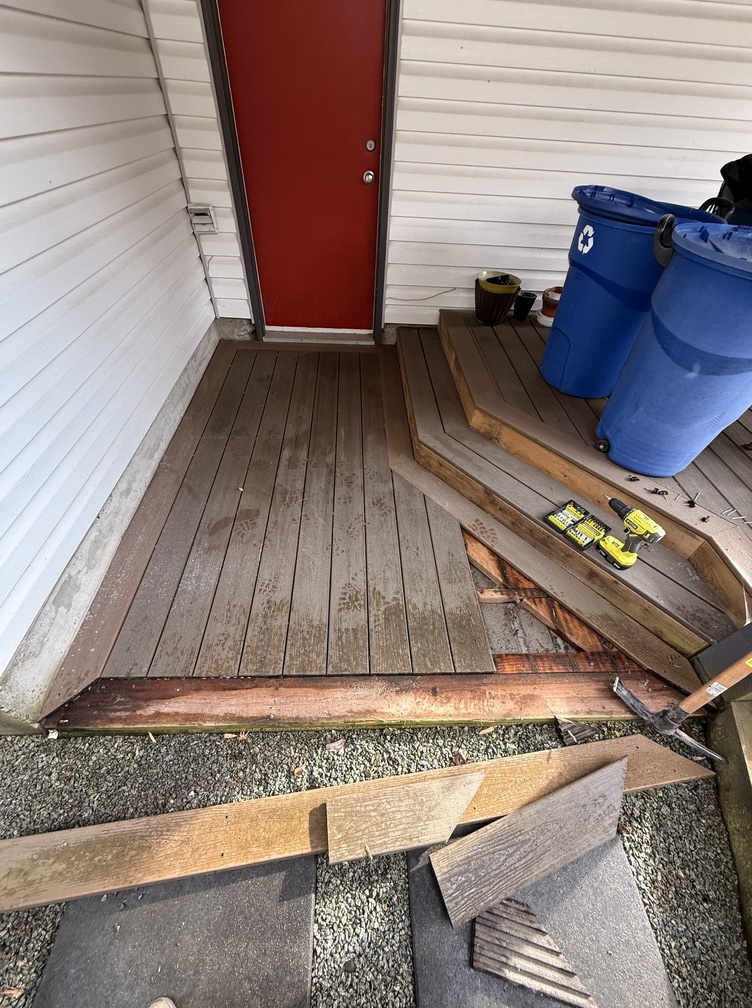
Demolition
I’ve never removed or installed a deck so aside from the screws on the surface I had no idea how else it was secured, turns out there’s just a few things you need to know.
- Whoever did this did this didn’t skimp and ensured the wood was anchored to the concrete with nails and steel ties.
- Every board is anchored to each other with a clip just below the surface so you have to move from the one side to another, you cannot just remove a board in the middle. (Poor design imo)
- You will definitely need a crowbar or screw extractor bit, because screws heads will inevitably strip due to weathering and you will need one of the two to get them out.
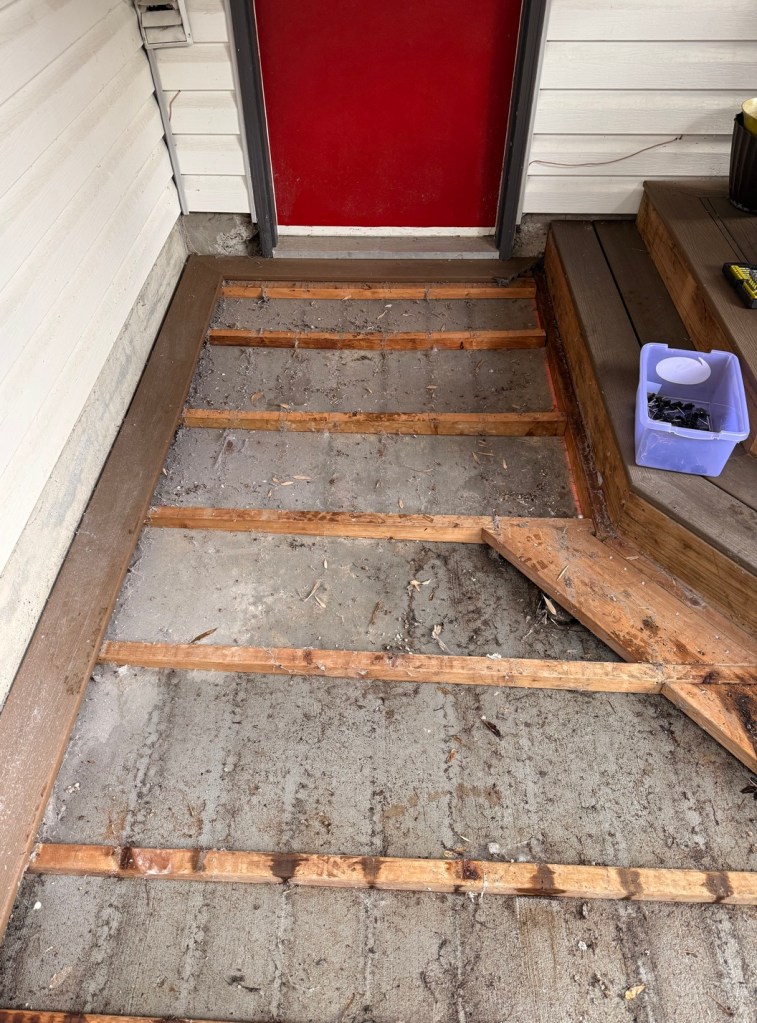
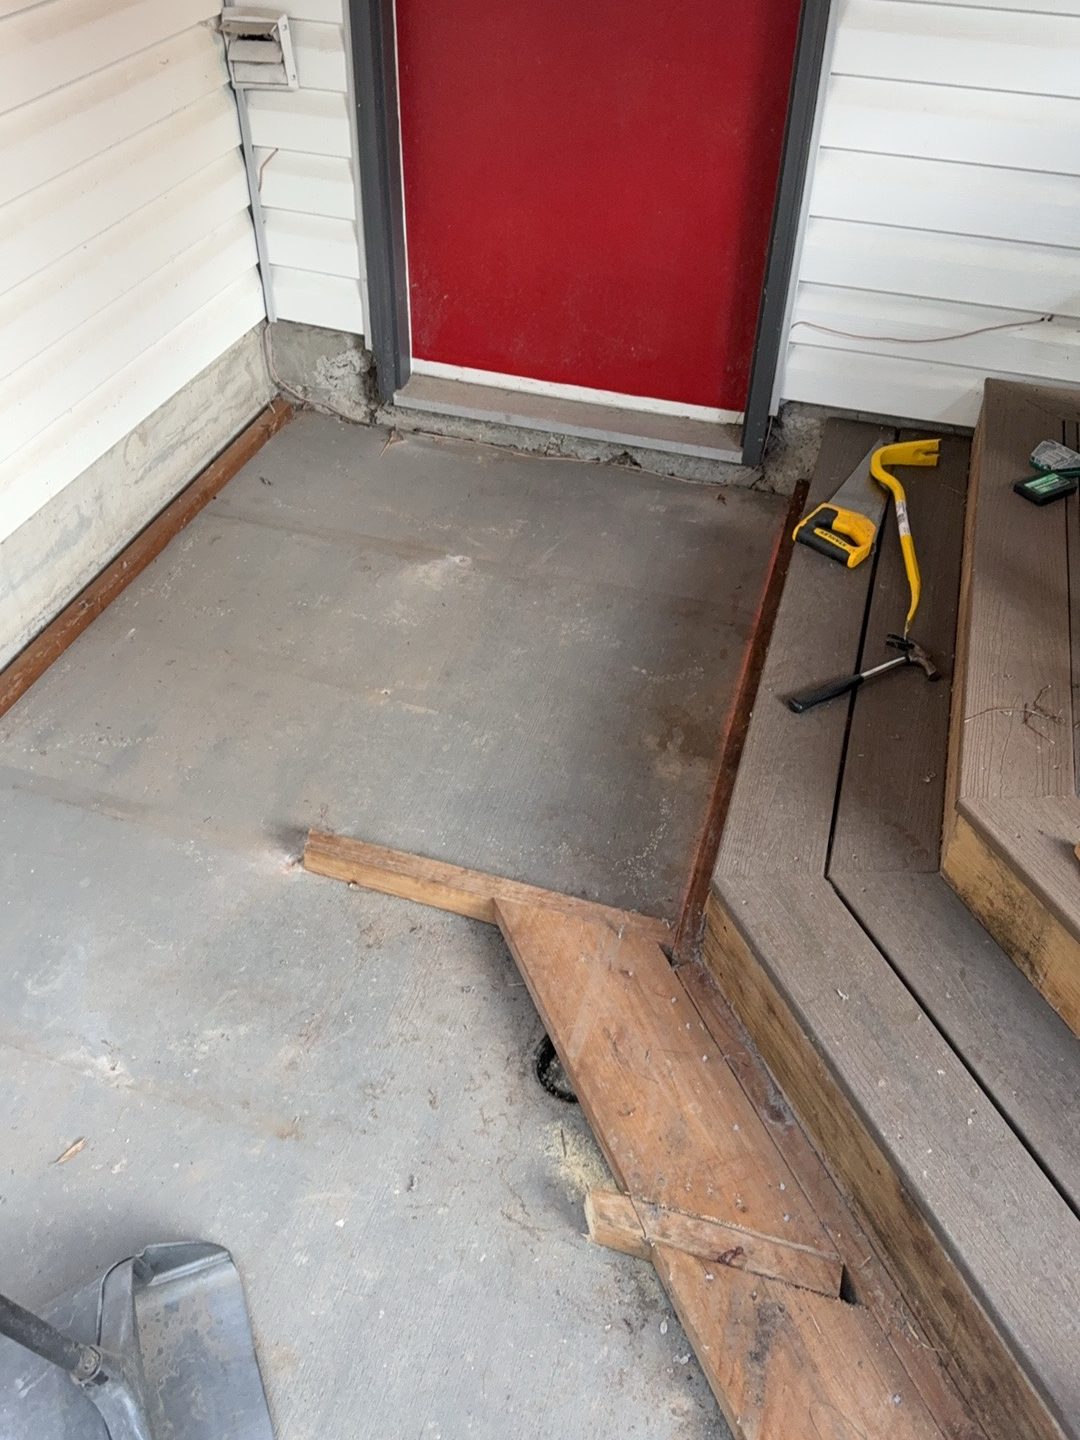
Getting the nails out was a big pain as it required quite a lot of force even with the crowbar, I had to saw away some of the wood to reveal the head of the nail.
Concrete Repair
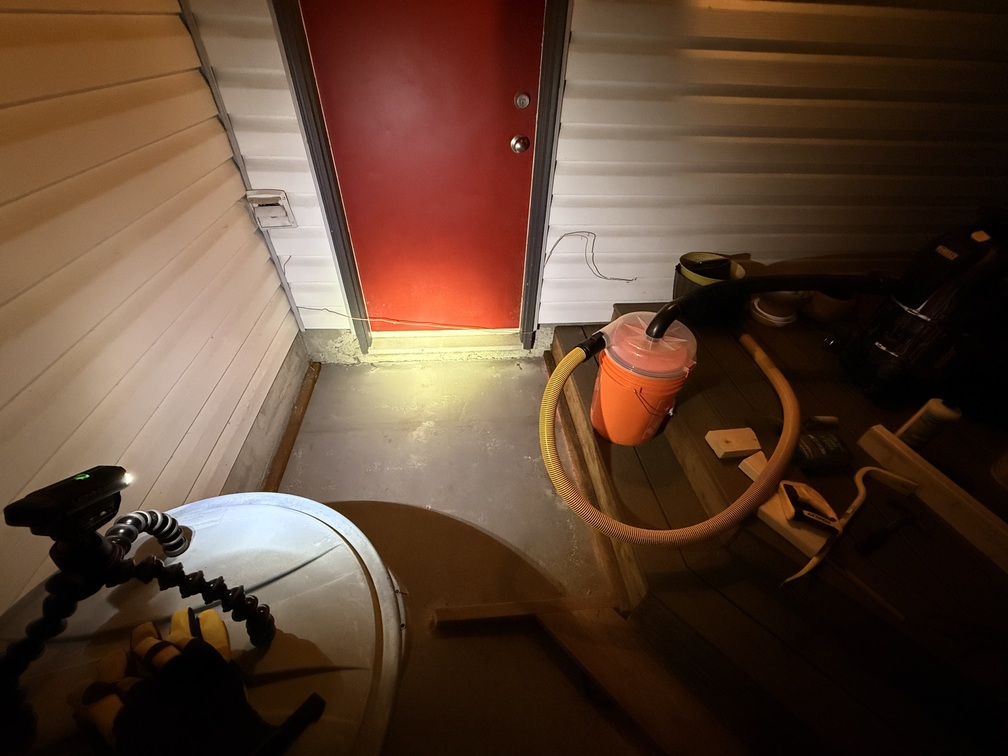
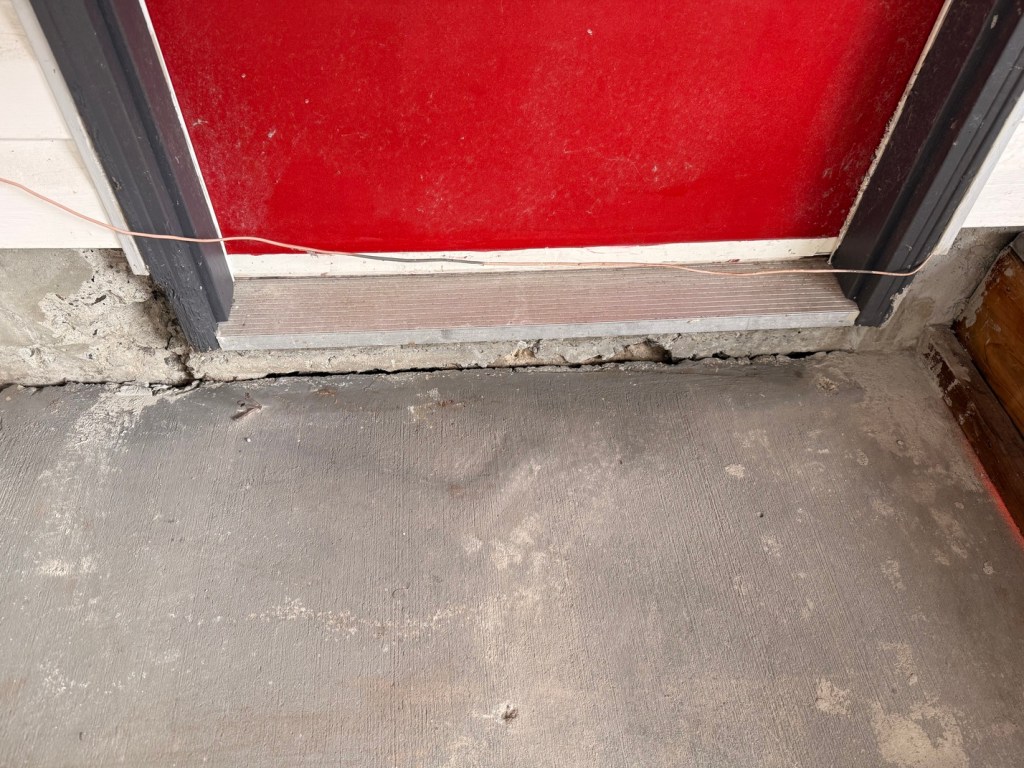
Cleaning up the work space
After sweeping away what seems like the aftermath of many years of battle between spiders and pill bugs I vacuumed up the remaining dust and debris with a shop vac. I highly recommend the Duststopper for dust separation (another post on this in the future, because it is amazing) otherwise you will just clog up your filter and fill up your dust bag very quickly.
Applying the concrete repair
What you’ll need
- Concrete bonding adhesive, I used Quickrete brand, but I reckon most will do. Apply this according to the instructions, the surface needs to be clean.
- Trowel, pick one depending on the size of your job.
- Cement, I used the fast setting Quickrete cement.
- Ensure you only mix a small amount at a time as it sets up quick.
- DO NOT mix too much water, especially if you do not have any form to hold the concrete, you need the concrete to hold its own form.
- Bucket to mix the concrete. The Quickrete I bought came in a plastic bucket so I just used that.
- If your repair is a large one I recommend drilling holes and putting in anchors to further ensure the new concrete stays in place and holds with the old concrete.
- Scrap wood or anything to help hold concrete in place.
- Give this video a quick watch https://www.youtube.com/watch?v=gzPKNMYJoo4&pp=ygUPY29uY3JldGUgcmVwYWly
- Steel wool to stuff any remaining gaps after the concrete has cured between the vinyl and the concrete since I was dealing with a mice problem.
I started with the smaller hole thinking it would be a good place to start to get the hang of things but boy was I wrong, since it was so close to the deck I could not get the trowel in some places to properly push the concrete in, so I had to resort to a wooden block, I definitely over worked the concrete there playing around and packing it in so we’ll see how well it holds in the coming year.
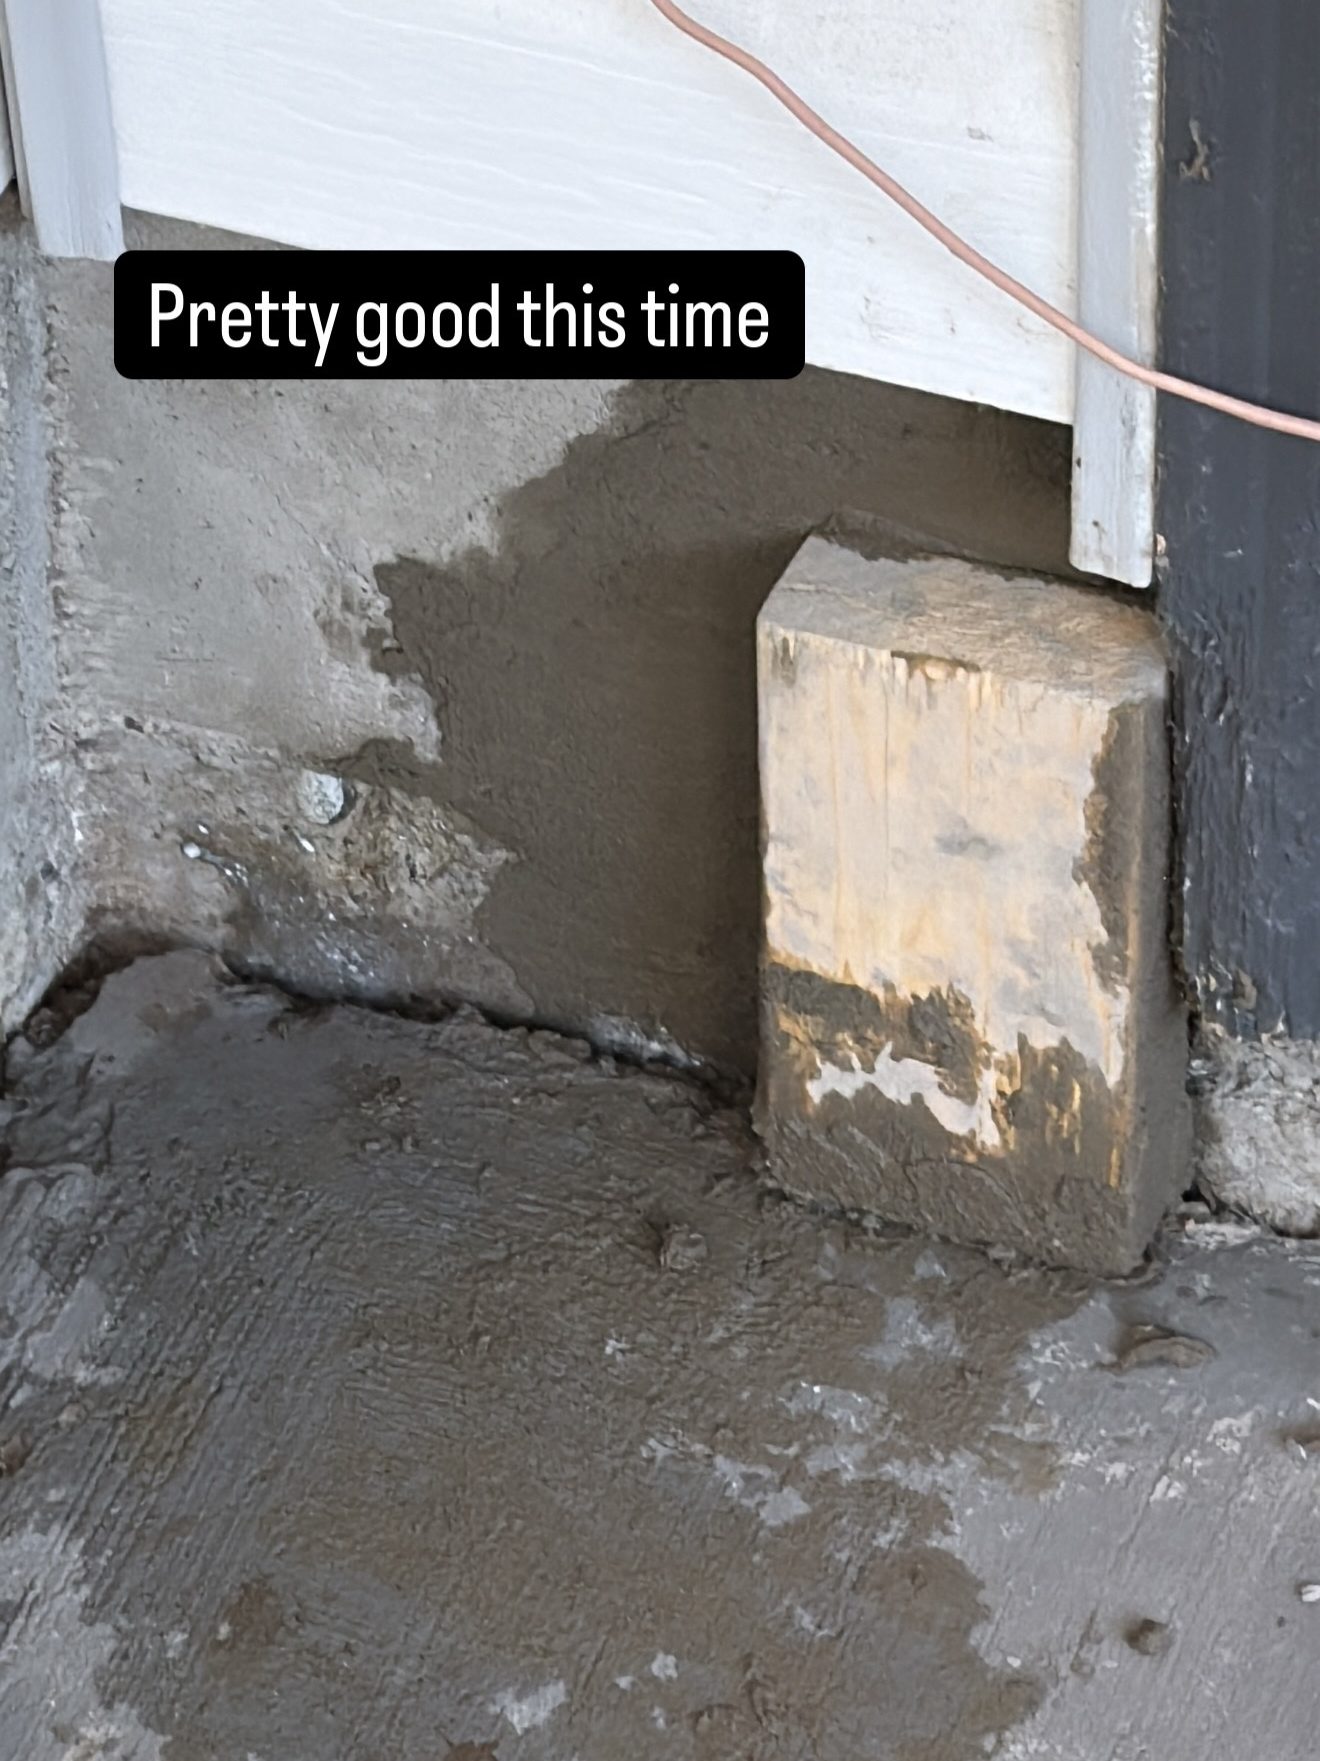
Anyways I hope this was somewhat helpful so you can just go and buy the products from your local hardware store and not have to spend an hour or so researching like I did to piece everything together.

Leave a Reply